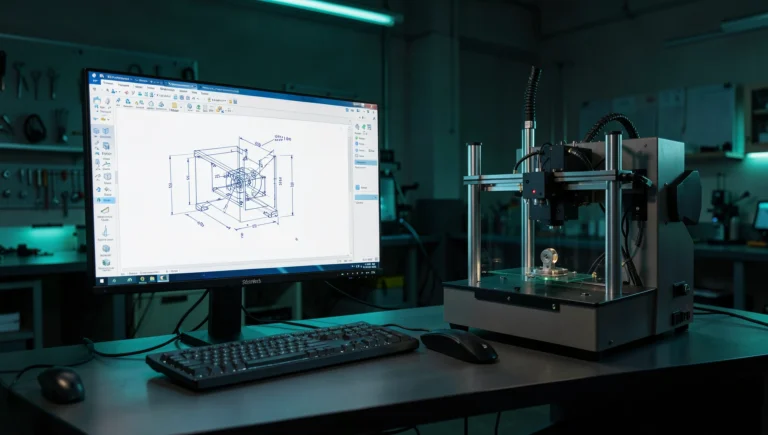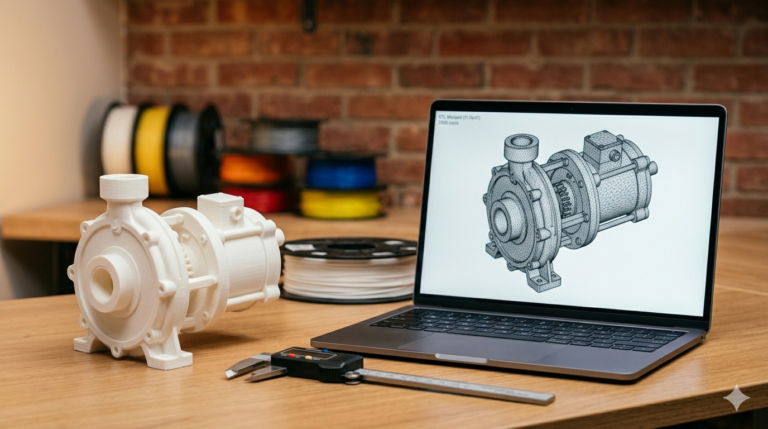
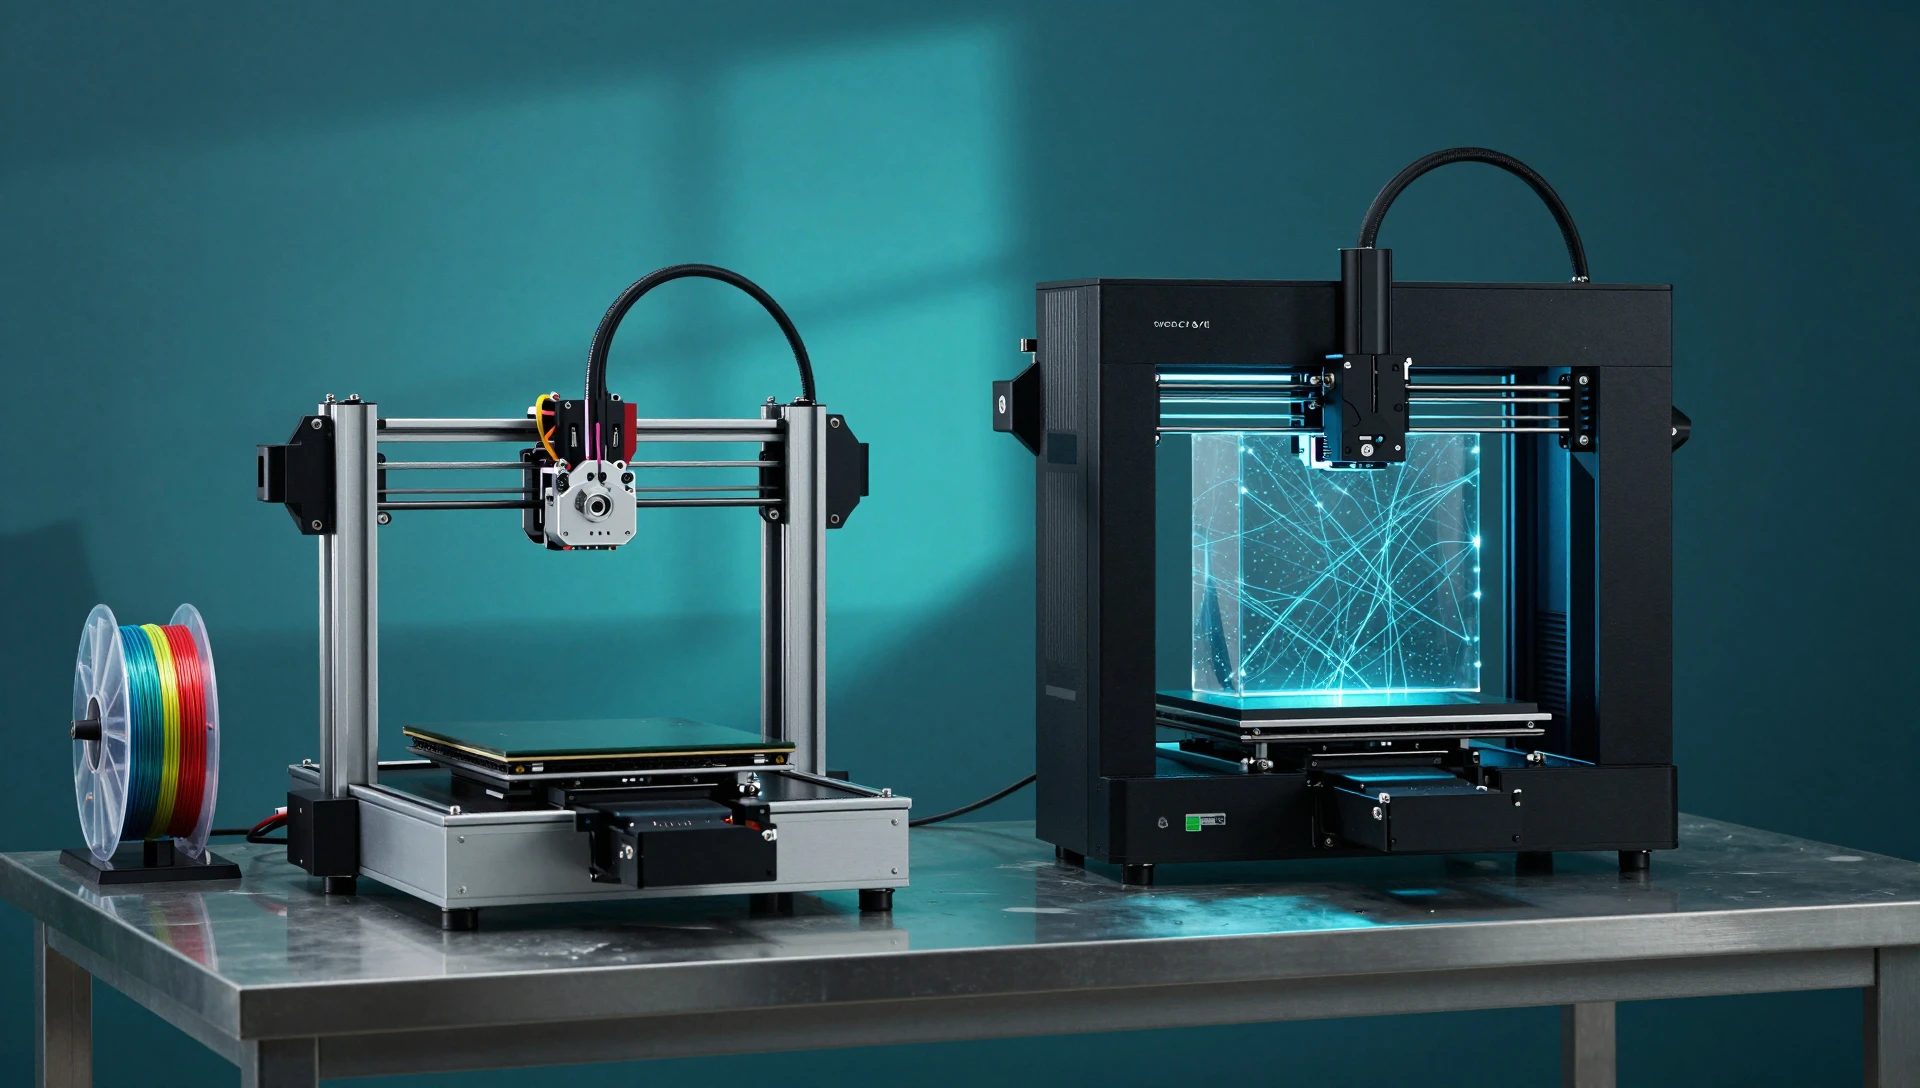
You have a prototype design in SolidWorks and need to pick a process — but when you ask a print service which technology to use, you get a vague answer. The FDM vs SLA for product prototyping decision is one of the most consequential choices you will make in early product development, and making the wrong call means a reprint, wasted material, and a missed review cycle. Both processes will print your file. What they produce is fundamentally different.
Why the Choice Matters — and What Is Actually at Stake
FDM (Fused Deposition Modeling) is the default because FDM printers are everywhere and the filament is cheap. The result is a functional part — strong enough to hold, thread, and stress-test — but with visible layer lines and surface roughness that requires significant sanding before a client presentation or marketing photograph.
SLA (stereolithography) cures liquid photopolymer resin with a UV laser or masked LCD, building layers as thin as 0.025 mm. The surface looks injection-molded. Fine features — engraved text, snap-fit geometry, mesh screens — come out clean and dimensionally accurate. The trade-off is a more brittle material and a higher cost per liter of resin. Understanding which constraint matters more for your specific prototype is the entire decision.
How FDM and SLA Work — The Core Mechanical Difference
FDM melts a thermoplastic filament — PLA, PETG, ABS, or TPU — and deposits it in roads from a heated nozzle. Layer heights typically run from 0.1 mm to 0.3 mm. The part builds as overlapping beads of fused plastic: strong in the XY plane, noticeably weaker across the Z-axis where layers bond under heat and pressure. FDM parts tolerate mechanical load well as long as stress does not concentrate at a layer boundary.
SLA cures an entire resin layer simultaneously using a UV-masked LCD (on desktop MSLA systems) or traces it with a laser (on professional systems). Because the layer forms as a contiguous cross-section rather than a deposited bead, small features like 0.4 mm wall ribs or M3 thread profiles that blur in FDM reproduce sharply in SLA. The cured photopolymer is also isotropic — unlike FDM, there is no directional weak axis to design around.
FDM vs SLA for Product Prototyping: Accuracy and Surface Finish
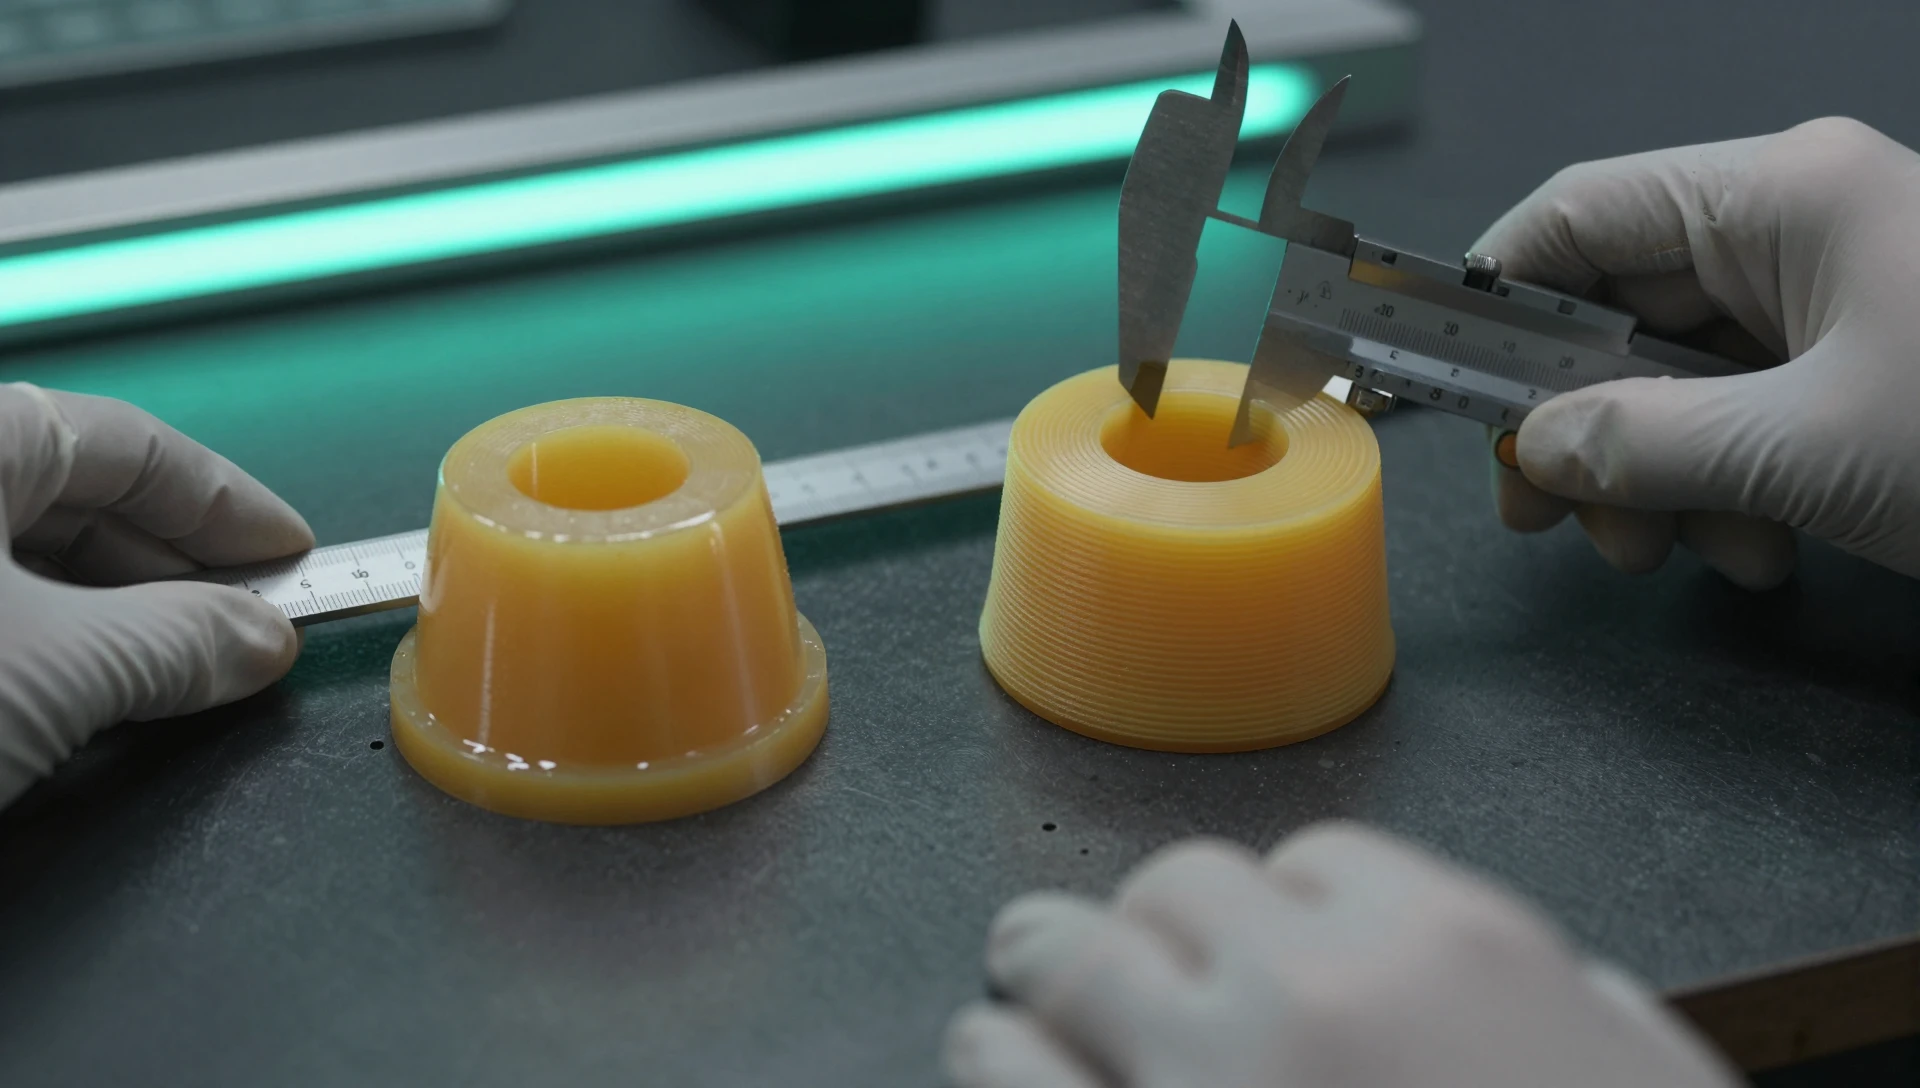
This is where the sla vs fdm accuracy gap shows up most clearly in practice. A calibrated FDM printer holds ±0.2 mm for general geometry. Circular holes print undersized by 0.1–0.2 mm without compensation offsets in the slicer. Edges fillet slightly. Snap-fit tabs with tight clearances — particularly any feature below 1 mm — often need hand-filing or a second iteration to assemble correctly.
A desktop SLA system holds ±0.05–0.1 mm. A 10.0 mm bore comes out at 9.9–10.0 mm without compensation. Logos and mechanical features below 0.5 mm reproduce faithfully. The surface finish off the build plate, after IPA washing and UV curing, is smooth enough for client photography and investor presentations without priming or sanding — a meaningful time saving when you need three rounds of design feedback before tooling is approved.
For mating parts — press-fit inserts, snap lids, interlocking assemblies — SLA’s accuracy makes first-print assembly far more reliable. For structural prototypes that must survive load testing, drop tests, or repeated mechanical cycling, FDM in PETG or ABS is tougher and more predictable under stress. Knowing which requirement your prototype must satisfy first narrows the choice immediately.
Material Options — Where FDM Has a Clear Advantage
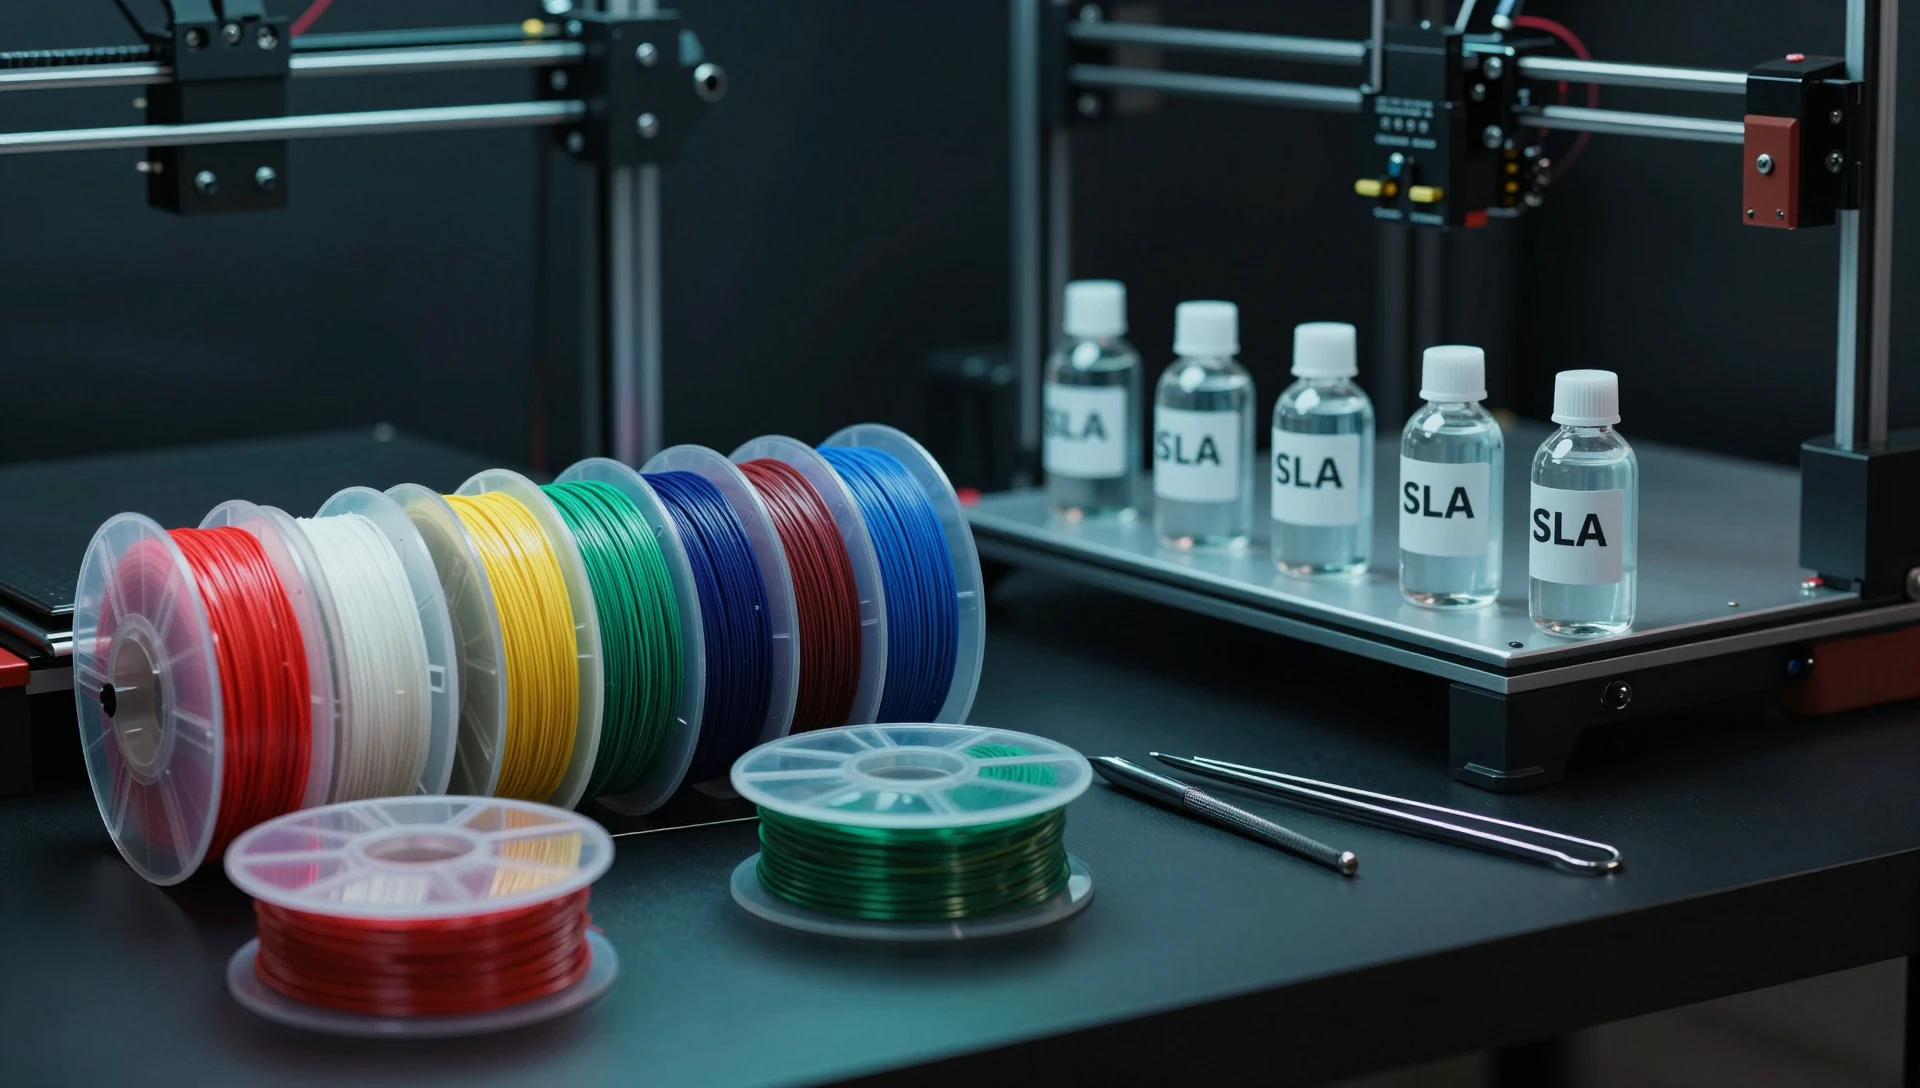
FDM material variety is the strongest argument for the technology. PLA is cheap and stiff but softens at 60 °C — acceptable for static display models, not for anything near a heat source. PETG is tougher, more chemical-resistant, and easier to print than ABS — the default for functional housings, brackets, and enclosures that see mild mechanical stress. ABS adds impact strength and heat resistance up to 80–100 °C. TPU prints flexible, rubber-like parts — seals, gaskets, vibration-damping mounts — that SLA resins cannot match for long-term flex durability.
SLA resins have improved markedly in recent years, but the material space remains narrower. Standard resin is smooth and brittle — correct for appearance models and master patterns, not for load-bearing tests. Engineering resins (ABS-like, Tough, or High Temp variants) add toughness and UV stability but cost $80–$150/kg versus $20–$40/kg for FDM filament. Flexible resins exist but fatigue quickly under repeated bending cycles. When your prototype needs thermal resistance, chemical compatibility, or consistent elastomeric behavior, FDM wins by default.
Cost and Timeline — What to Budget for Each Process
For a medium-sized prototype (roughly 100 × 80 × 50 mm at 20% infill in FDM), FDM runs 30–50% cheaper than SLA on materials alone. Where SLA recoups that cost is in post-processing: FDM parts need 1–3 hours of sanding, filling, and priming for a presentable finish; SLA parts need 15–30 minutes of IPA washing and UV curing and they are ready.
Print time is broadly similar for equal volumes, though SLA can be faster for sets of small detailed parts because it cures entire layers simultaneously. When you are choosing fdm or sla for small parts — electronic enclosures, medical device housings, consumer product caps — the labor cost of FDM post-processing often erases the material savings, and SLA delivers a better total-cost result. Run the numbers for your specific part geometry and review deadline before defaulting to FDM because it seems cheaper.
Choosing the Right Process for Your Prototype
Use FDM when the prototype must survive abuse — drop tests, assembly stress, thermal cycles above 60 °C, or repeated flex. Use it when you need a large build volume above 250 × 250 mm, a flexible material like TPU, or engineering-grade thermal resistance. Use it also for first-pass shape checks before committing resin cost: FDM is cheap enough to print three geometry iterations in a single working day.
Use SLA when surface appearance drives the decision — client presentations, marketing photography, investor demos — or when fine geometry below 0.8 mm controls fit and function. SLA is the preferred 3d printing technology for prototypes of consumer electronics, cosmetics packaging, precision mechanical assemblies, and master patterns for silicone molding. When you are weighing fdm vs sla for product prototyping and the prototype needs to look production-ready before tooling is approved, SLA is almost always the right answer. When it needs to survive the engineering lab intact, FDM is. Many product teams use both: FDM for structural cores and iteration, SLA for the cosmetic shell that goes in front of stakeholders.
Preparing Your SolidWorks File for Either Process
The same SolidWorks part exports to STL or STEP for both processes, but the design rules differ enough that you cannot simply send the same file and expect the same result from a different printer. For FDM, maintain a minimum wall thickness of 1.2 mm for structural integrity and apply a +0.15–0.2 mm clearance offset to holes and slots that must mate with other parts — holes print undersized in FDM without it. For SLA, walls can go to 0.5 mm and no clearance offset is needed; print directly to nominal dimensions and the part will assemble correctly.
Support placement also differs. FDM supports leave surface scarring on every contact face; position them on non-cosmetic or non-mating surfaces, or plan for post-processing time. SLA supports are thinner and release more cleanly from the cured surface, but they still leave small witness marks — keep them on the back face or inside cavity. For a deeper reference on geometry rules that apply to both processes — wall thickness, overhang angles, feature minimums, and bridging limits — see our guide on essential 3D printing design rules.
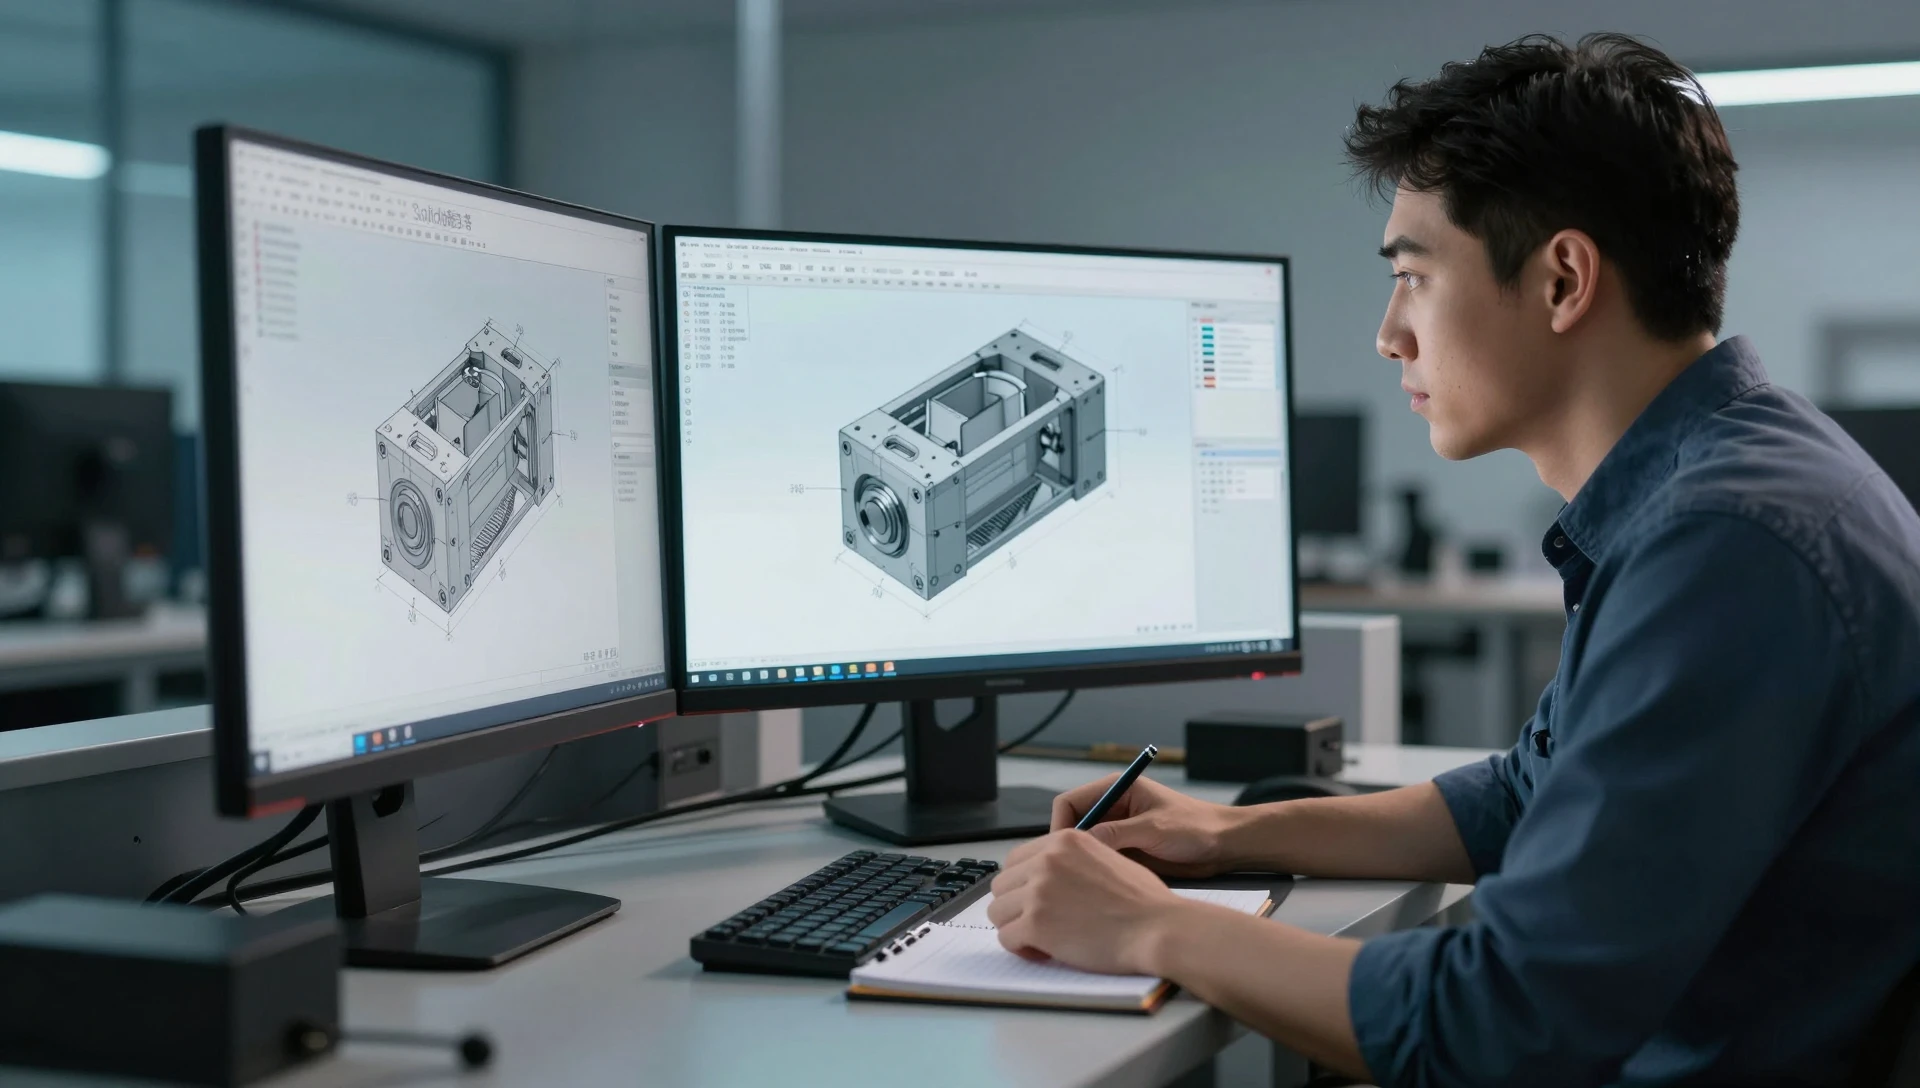
MiniCAD engineers have delivered 7,000+ projects in SolidWorks across both FDM and SLA workflows — we model for the target process from the first sketch, so the first print fits. Request a quote at minicad.io/quote: 24-hour delivery, 4.9★ rating across 4,470+ verified reviews, 40+ countries served. Email: contact@minicad.io.