Raw 3D prints rarely look like the renders in your slicer. Layer lines, step artifacts, stringing, and rough undersides are the price of FDM. Post-processing 3D printed parts is what turns a functional prototype into something you would hand to a client or photograph for Amazon — and the good news is that the workflow is repeatable once you know the sequence.
Why Post-Processing 3D Printed Parts Matters
Every FDM print leaves visible ridges at 0.2 mm pitch — the standard layer height most slicers default to. Those ridges are not a defect; they are the resolution limit of the process. Unprocessed, they catch light at every angle and make a part look unfinished. Post-processing closes the gap between “prototype” and “product-ready” without requiring a redesign or a re-print. For anyone testing a consumer product, presenting to investors, or photographing for a product listing, finish quality is as important as dimensional accuracy.
Sanding 3D Prints: Grits, Sequence, and Wet Sanding
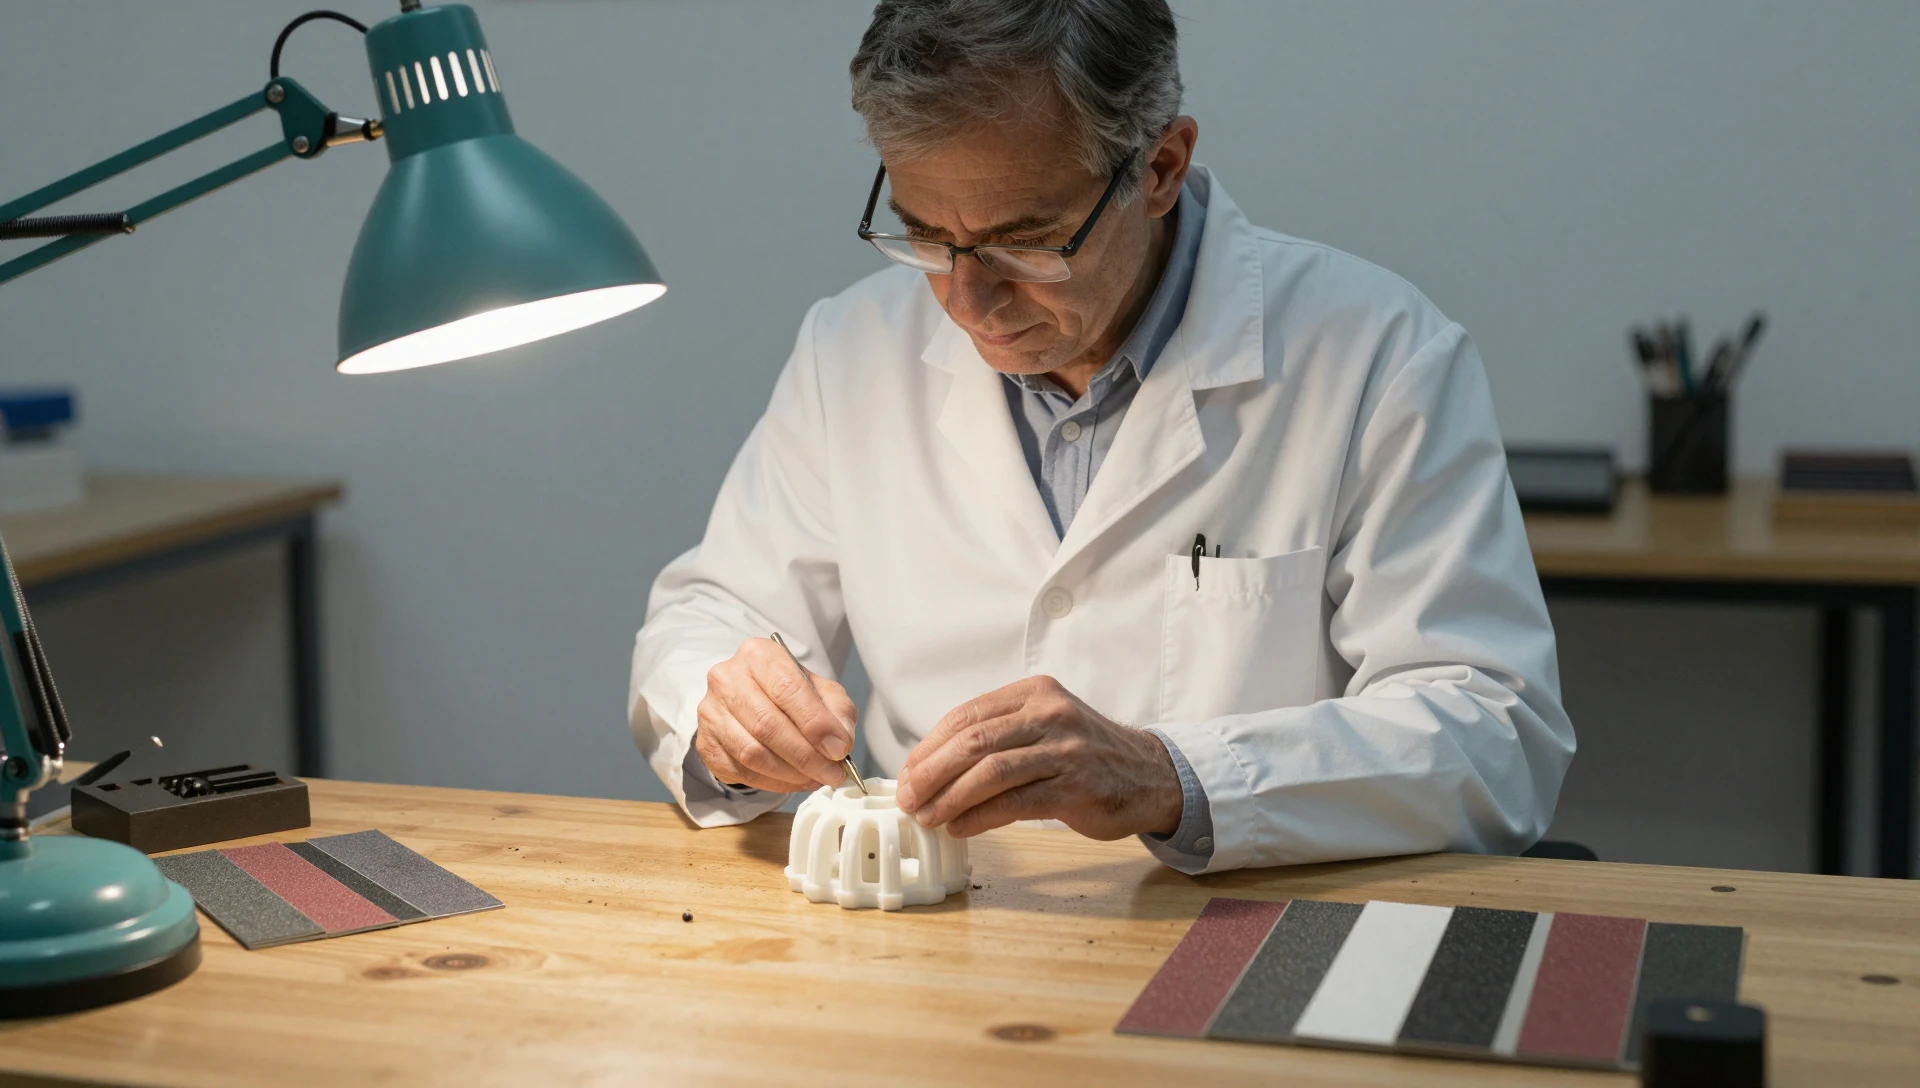
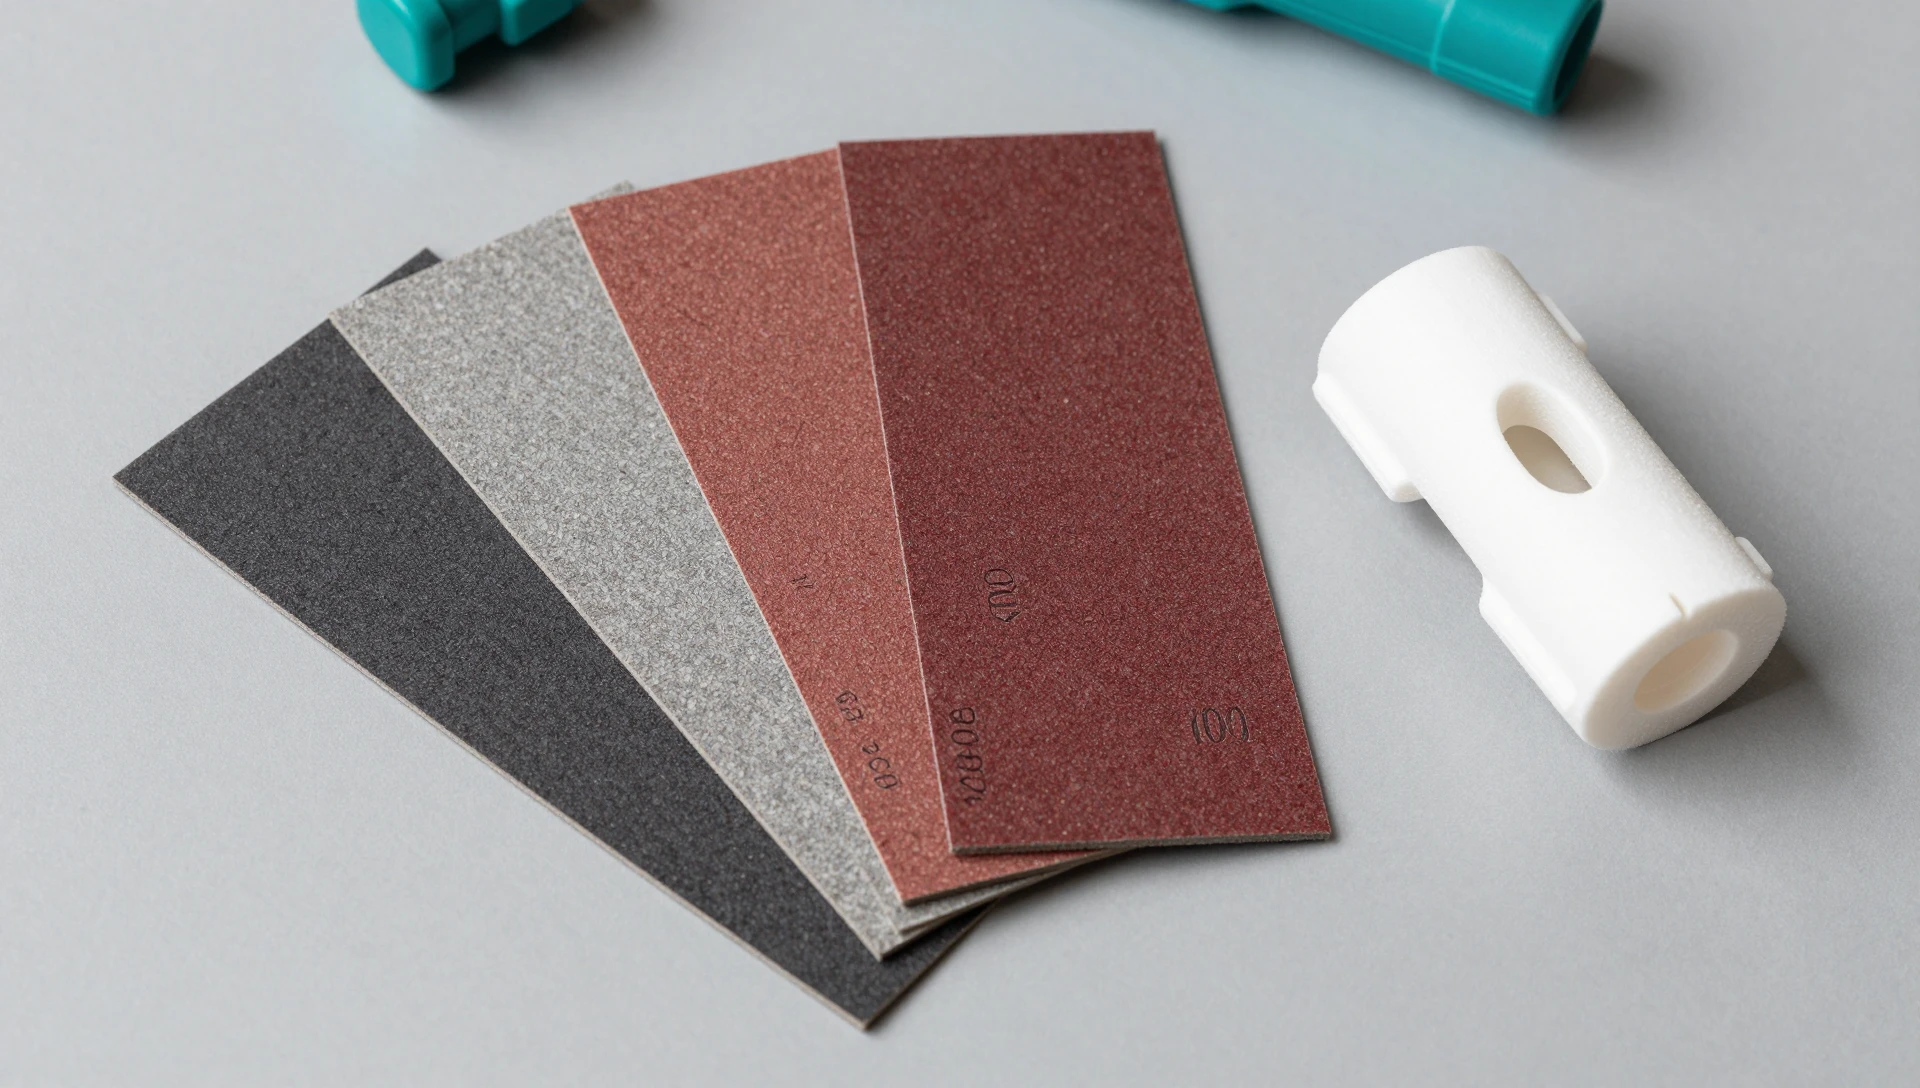
Sanding is the foundation of every FDM surface finishing workflow. Start coarse and work toward fine — jumping straight to fine grit on an unprocessed part loads the paper and tears the surface texture rather than cutting it cleanly.
A standard sequence: 120-grit to knock down the highest ridge crests, then 220 to flatten the surface, 400 to remove the 220 scratches, then 800 and 1200 wet. At 400-grit and above, switch to wet sanding — wrap the paper around a flat block, keep the surface wet with water, and use light circular strokes. Wet sanding prevents the heat buildup that smears thermoplastics and flushes swarf away so the abrasive cuts cleanly. For a paint-ready base, stop at 800-grit. For a polished finish without paint, work to 1500 then 2000 wet.
PLA sands well up to 400-grit but can melt slightly if you press too hard — keep strokes light and let the abrasive do the work. PETG is softer and gums up paper faster; wet sand from 220 onward and change sheets frequently. ABS sands the most predictably of the three and is the best candidate for vapor smoothing.
Priming and Filling Layer Lines
Primer is an essential step in post-processing 3D printed parts — it reveals surface defects under raking light and fills the microscopic scratches left by sanding. Grey automotive sandable primer shows surface relief most clearly. Apply two thin coats from 30 cm distance, allow 15 minutes between coats, and cure for at least one hour before block-sanding with 400-grit dry or 600-grit wet.
For layer lines deeper than 0.1 mm, a high-build filler primer or lightweight spot putty is more effective than extra sanding passes. Spot putty fills in seconds, dries in 30 minutes, and sands flush. For parts printed at 0.3 mm layer height or higher, a 2K automotive high-build primer fills 200–300 micron relief in a single application — far more efficient than repeated sanding passes on deep ridges.
Painting 3D Printed Parts: Spray vs Brush
Spray painting produces a more even film than brushing on curved surfaces, and for most FDM parts it is the better method. Acrylic aerosol paints dry fast, bond well to primed thermoplastics, and are easy to rework. Apply three to four thin coats rather than one heavy pass — heavy application causes runs and buries surface detail under a thick, uneven film that obscures sharp geometry.
Brush painting is appropriate for fine detail work, multi-color schemes, or when spray is not practical. Thin water-based acrylic hobby paints slightly for the first coat and build coverage with subsequent layers. A flat brush covers large areas cleanly; a fine detail brush handles SolidWorks-modeled text, logos, and tight geometric features.
Finish any paint job with a clear coat — matte, satin, or gloss depending on the application. Clear coat also adds UV resistance, which matters for parts displayed near windows or photographed under hot studio lights. For parts that will see frequent handling, a 2K automotive clear builds a harder, more durable film than single-part aerosols.
Smoothing 3D Printed Parts with Acetone Vapor
Acetone vapor chemically reflows the outer surface of ABS parts. The solvent dissolves the top few microns of material and lets it re-solidify with a near-injection-molded appearance. This is the only method that removes layer lines without removing material, and it achieves a gloss finish in 30–60 seconds of controlled exposure.
The setup: pour 5–10 mL of acetone into a sealed glass jar, suspend the ABS part above the liquid on a small platform — not touching the liquid — seal the jar, and wait 30–60 seconds. Do not exceed this window; over-exposure rounds sharp edges and causes geometric slumping. This process is strictly for ABS. PLA is unaffected by acetone. PETG becomes tacky but does not smooth cleanly and is not a candidate for this technique.
Acetone is highly flammable and its vapor is heavier than air, pooling at floor level near ignition sources. Always work in a well-ventilated space away from open flames, pilot lights, and heat sources. Use glass — acetone dissolves most plastics. Smoothing 3D printed parts with acetone in a cold environment slows evaporation and gives greater control over the exposure rate.
Epoxy Coating for a Glass-Like Surface Finish
Two-part brush-on epoxy resins — such as XTC-3D by Smooth-On — are applied directly to sanded FDM parts. The resin self-levels over the surface, flowing into layer lines as it gels. Working time is approximately 10 minutes; the part reaches tack-free in 4 hours and full hardness in 24 hours at room temperature. The cured coat is 0.3–0.5 mm thick and adds meaningful impact resistance alongside the smooth finish.
Epoxy coating works on PLA, ABS, and PETG — it is material-agnostic, unlike acetone smoothing. It is the best choice for post-processing 3D printed parts that need to survive drop testing or client presentations before any paint step. Apply one coat, cure fully, sand lightly with 400-grit, then prime and paint over the top for a production-quality surface.
FDM Surface Finishing by Material: A Quick Reference
Matching the post-processing method to the filament material prevents wasted effort and damaged parts.
PLA sands and paints well but is not compatible with acetone smoothing. It is slightly brittle under cutting pressure, and it softens above 60°C — avoid leaving PLA parts in direct sunlight or hot workshops during any finishing step. PLA is the right material for parts that will be fully painted to a final color.
ABS supports every FDM surface finishing method including acetone vapor, making it the professional choice for a high-gloss or near-injection-molded appearance. It tolerates sanding pressure better than PLA and holds dimensional stability through the finishing process. For any client-facing prototype or investor model where surface quality matters most, ABS is worth the slightly higher material cost and heated-bed requirement.
PETG is impact-resistant and flexible, but it gums up abrasives and is frustrating to sand dry. Wet sand from 220-grit onward and change paper frequently. PETG accepts paint well over primer, but the material’s flexibility means paint film can crack at flex points under bending load — use a flexible primer for any part that will be compressed or bent in service.
At MiniCAD, every STL file we design is built with print-and-finish quality in mind — wall thickness above the sanding minimum for structural integrity, feature sizing above the print resolution floor, and geometry that reduces post-processing labor. With 7,000+ projects across 40+ countries and a 4.9★ rating across 4,470+ reviews, we know what a finish-ready model requires. Ready to start with a file designed for clean results? Request a quote — turnaround starts at 24 hours and pricing begins at $34. Email contact@minicad.io or message us on WhatsApp.