
If your STL file fails at the slicer or produces hollow walls and missing geometry, you almost certainly don’t have a watertight STL for 3D printing. Non-manifold geometry — open edges, flipped normals, self-intersecting faces — is the root cause in the vast majority of cases. This guide covers what watertight means, where errors come from, and exactly how to detect and fix them before you hit print.
What “Watertight” Means in 3D Printing
A watertight mesh — also called a manifold or closed mesh — is one where every triangle edge is shared by exactly two faces. No edge is exposed, no two faces pass through each other, and every face’s outward normal points consistently away from the solid’s interior. Think of a sealed container: fill it with water, and nothing leaks. Any gap, flipped face, or interior wall breaks the seal — and the slicer can’t resolve the ambiguity reliably.
Most slicers — Cura, PrusaSlicer, Bambu Studio — attempt to recover from minor errors automatically. That works for hobbyist prints but creates a problem for engineering parts where wall thickness, clearance, and structural integrity matter. A slicer’s guess about how to close a 0.3 mm gap in a snap-fit feature can make the difference between a functional part and one that cracks on first assembly.
Why Non-Watertight STL Files Fail at the Slicer
Three workflows produce most bad STL files. First: poor boolean operations in CAD. Subtracting a body from a part where faces are exactly coplanar — a zero-thickness condition — leaves an open edge the mesh tessellator can’t resolve cleanly. Second: format conversion. When you receive an IGES or STEP surface model and convert it to STL, any untrimmed edge in the original surfaces becomes an open boundary in the mesh. Third: manual mesh editing outside your CAD tool — pulling vertices in a third-party program without closing the resulting hole.
The slicer sees these failures as four distinct error types: open edges, inverted normals, self-intersecting faces, and degenerate triangles. A single open edge causes a clean failure in Netfabb; in a forgiving slicer like Cura, the same file may print with unexpected missing geometry instead — which is harder to catch and more dangerous for a functional part.
How to Check STL File Before Printing
The fastest free check is PrusaSlicer built-in analysis. Import the STL and look at the model list panel. A yellow warning triangle means non-manifold geometry was detected. Click it to see which error types are present. Prusa documentation on non-manifold edge detection is the most practical free reference for interpreting each flag.
For a more complete report, open Meshmixer (free) and go to Analysis Inspector. Red dots mark every problematic vertex; clicking one highlights the surrounding bad geometry. The auto-Repair button patches most issues, but always verify the result visually near functional features like threads, snap fits, or mating surfaces before sending for print.
In Cura, switch to X-Ray view under the View menu. Red regions indicate non-manifold geometry. Cura fills most minor issues silently, but relying on that for production parts makes wall thickness unpredictable — the mesh-repair logic changes across versions and is not documented. Check explicitly.
Common STL File Errors and How to Fix Them
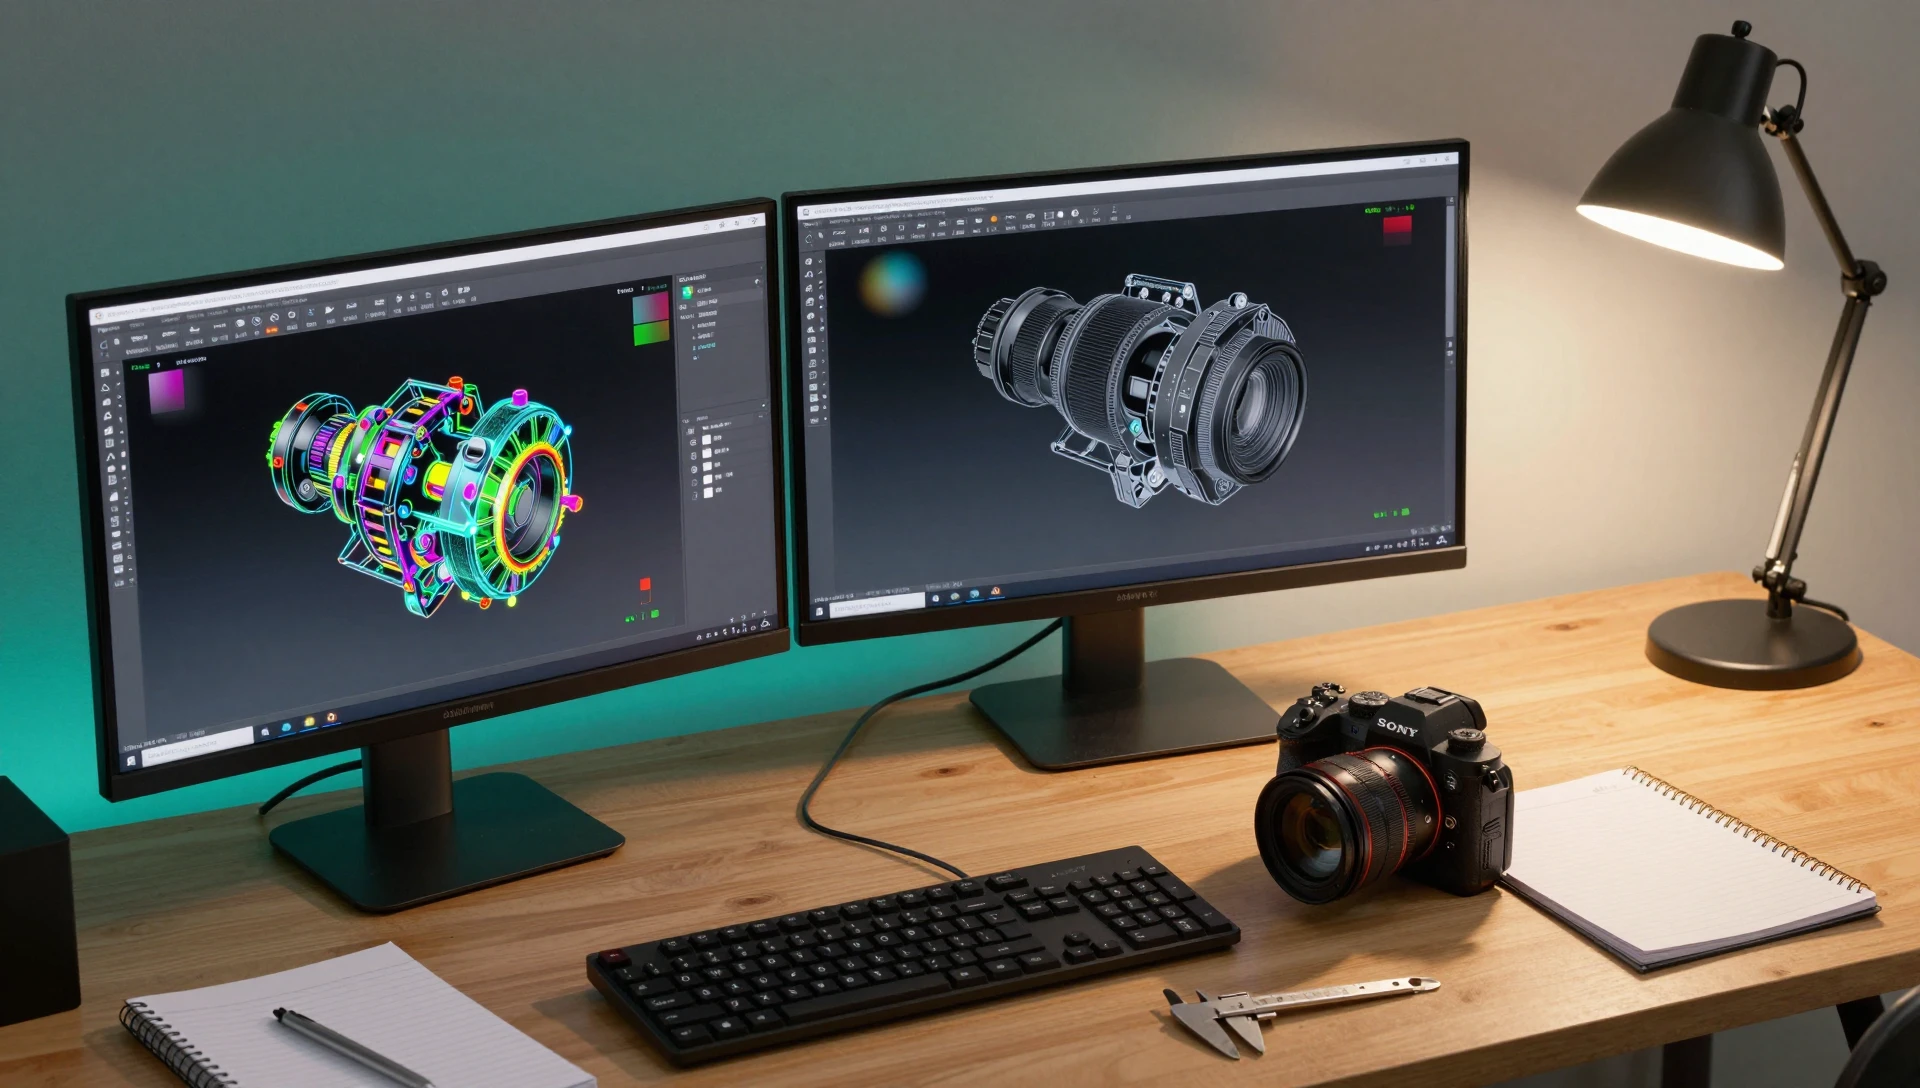
The fastest way to fix STL file errors is to trace them back to the solid model and correct the geometry there — not patch the mesh afterward. A repaired mesh can have unpredictable wall thickness near the repair region. A corrected solid tessellates cleanly every time.
Open edges: In SolidWorks, run Evaluate Check on the part body before exporting. Any error the Check tool finds in the solid will carry into the STL. Fix the solid — close the face, repair the sketch driving the bad feature — before touching the export settings.
Inverted normals: In Meshmixer, Edit Normals Unify Normals resolves most cases in one click. In Blender, select all faces in Edit Mode, then Mesh Normals Recalculate Outside. Either takes under a minute and is safe to run on any mesh.
Self-intersecting faces: Almost always caused by overlapping solids that were never merged with a boolean union. Fix this in CAD — merge the bodies cleanly — rather than trying to repair the resulting mesh. Mesh-level repair of self-intersections often produces thinned or missing walls near the intersection boundary.
Degenerate triangles: Zero-area faces from low-quality tessellation. Export your SolidWorks STL with a chord tolerance of 0.0125 mm and angle tolerance of 1 degree (File Save As STL Options Custom). Finer tessellation eliminates nearly all degenerate triangles without significantly increasing file size.
Repairing a Manifold Mesh for 3D Printing
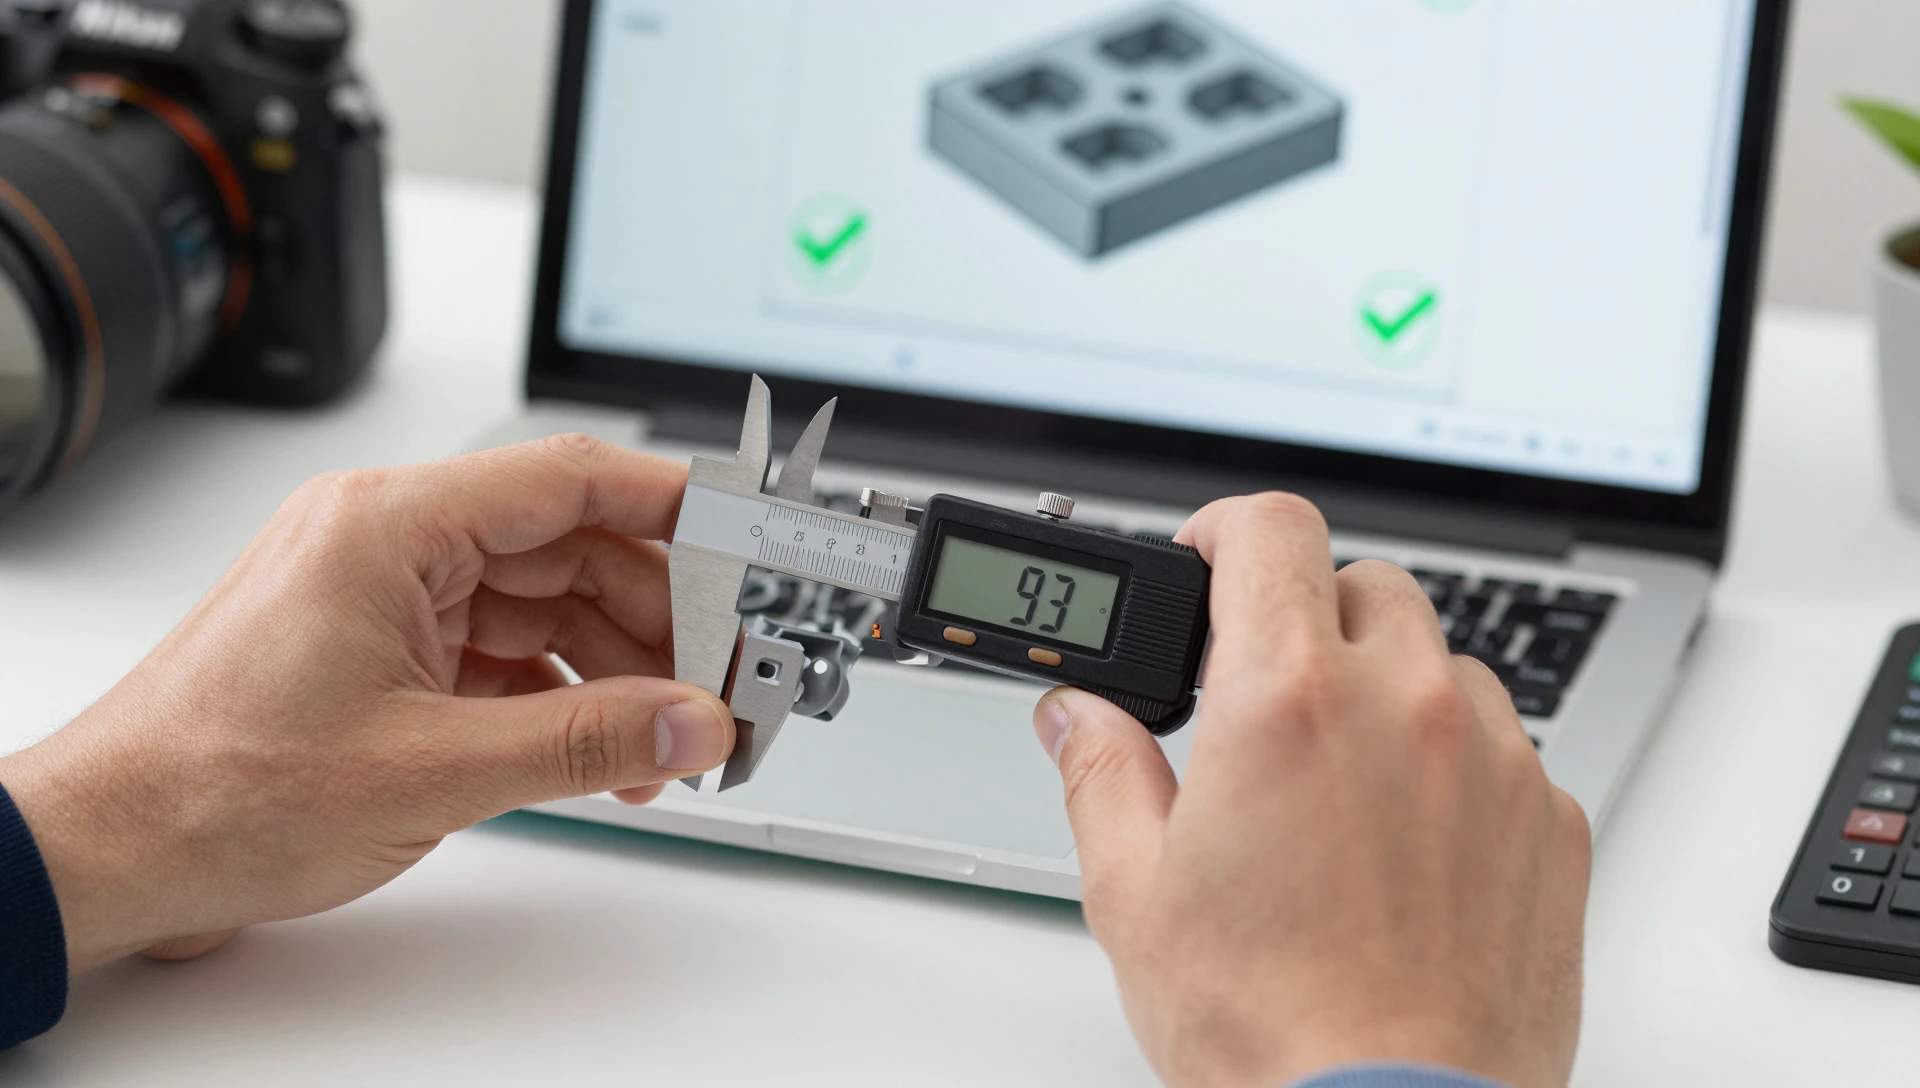
A clean manifold mesh for 3D printing is the end goal of every STL repair workflow. For light repairs — a handful of open edges or minor normal issues — Meshmixer auto-repair is fast and reliable. For heavily corrupted files — imported vendor meshes, converted IGES surfaces, or multi-body assemblies with export errors — use Netfabb Basic (free from Autodesk) or Microsoft 3D Builder (free on Windows). Both run automated multi-pass repairs handling open edges, intersections, and normal issues simultaneously. Netfabb Online offers the same repair as a no-install browser tool.
Scanned parts are the hardest case. A typical photogrammetry scan produces 200,000 plus triangles with gaps and overlaps introduced simultaneously by the scan-to-mesh pipeline. The most reliable engineering path is to take direct measurements from the physical part and re-model it in SolidWorks. A scan gives you shape reference; SolidWorks gives you a guaranteed-watertight solid with the tolerances your manufacturer actually needs.
Exporting a Watertight STL for 3D Printing from SolidWorks
SolidWorks gives you direct control over mesh quality at export. In File Save As, choose STL format, then click Options. For standard FDM parts, the Fine preset is sufficient. For curved surfaces, SLA, or resin prints, choose Custom: set chord tolerance to 0.005 mm and angle tolerance to 0.5 degrees. Sliced layers will not show polygonal facets on curved faces — important for cosmetic prototypes and close-tolerance mating parts.
Run Evaluate Check on the SolidWorks part body before every export. A clean solid with zero errors produces a watertight STL without exception. If Check finds errors, fix the solid first. That 30-second step eliminates every downstream repair headache.
One distinction worth knowing: STL encodes geometry as a triangle mesh — ideal for 3D printing. STEP preserves the parametric solid and suits CNC machining or injection molding tooling. Our guide to STL vs STEP files covers when to use each format.
When to Use a Professional STL File Repair for 3D Printing Service
Some STL error counts run into the hundreds — particularly with imported vendor geometry, legacy CAD data from obsolete formats, or multi-body assemblies where export settings were never controlled. At that point, repair time exceeds re-modeling time. The smarter path is to hand the file to someone who can rebuild it natively in SolidWorks and re-export at controlled tolerances.
MiniCAD STL file design service includes a full geometry check on every file we deliver. We model natively in SolidWorks, export at fine tolerances, and verify the result in PrusaSlicer before sending — so you receive a verified watertight STL for 3D printing ready to drop into any slicer without errors or surprises.
Ready to turn your idea into a 3D CAD model? MiniCAD has delivered 7,000+ orders over 9+ years, rated 4.9 out of 5 across 4,470+ Fiverr reviews.
Packages start at $79. Send your sketch, photo or sample through our quote form and get a personal quote within 24 hours. You pay only after you accept it. Questions? Email contact@minicad.io.