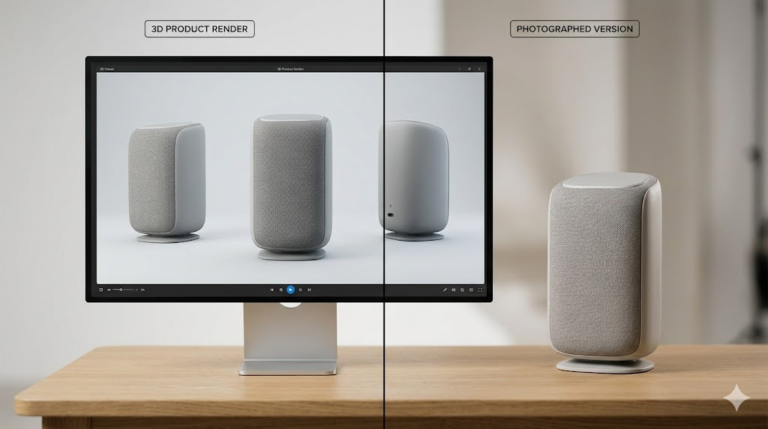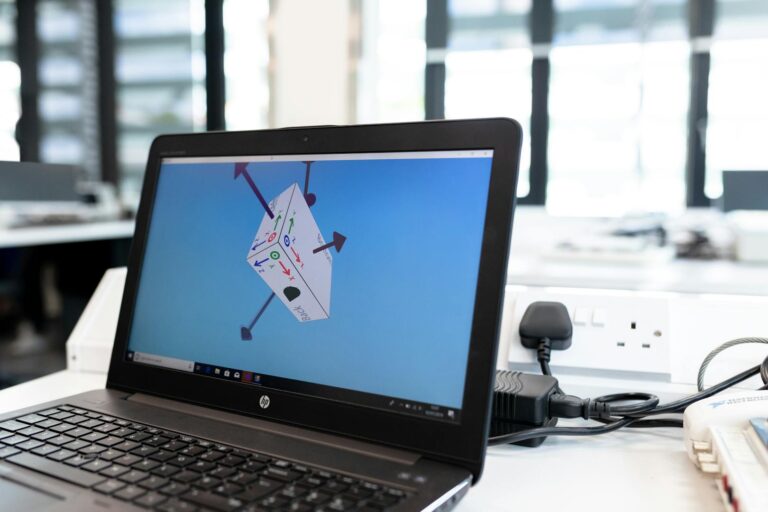
Every physical product on the market began as an unproven idea — and the fastest way to learn whether an idea actually works is to build a prototype. Knowing how to prototype a product correctly is what separates founders who launch on schedule from those who burn months and thousands of dollars on parts that do not fit, do not function, or cannot be manufactured. This guide walks through the exact process our studio uses to take a concept from a rough sketch to a tested, production-ready prototype.
What Product Prototyping Actually Means
A prototype is a physical, testable version of your product built to answer one specific question: Does it fit? Does it function? Does it feel right in the hand? A useful product prototyping guide treats every prototype as an experiment, not a finished product. Your first version exists to be wrong in cheap, fast ways — before those mistakes get locked into a $10,000 injection mold or a thousand-unit production run.
There are three broad prototype types: looks-like models for visual feedback, works-like models for engineering validation, and the final looks-like-works-like sample that mirrors production. Most products need at least two rounds across these categories before they are truly ready to manufacture.
How to Prototype a Product: The Five Core Stages
The complete process to prototype a product follows five sequential stages — define, model, build, test, and iterate. Skipping any one of them is the single most common reason first prototypes fail. Each stage below is broken down with the decisions that matter and the traps to avoid.
Stage 1 — Turn the Idea Into a Sketch and a Spec
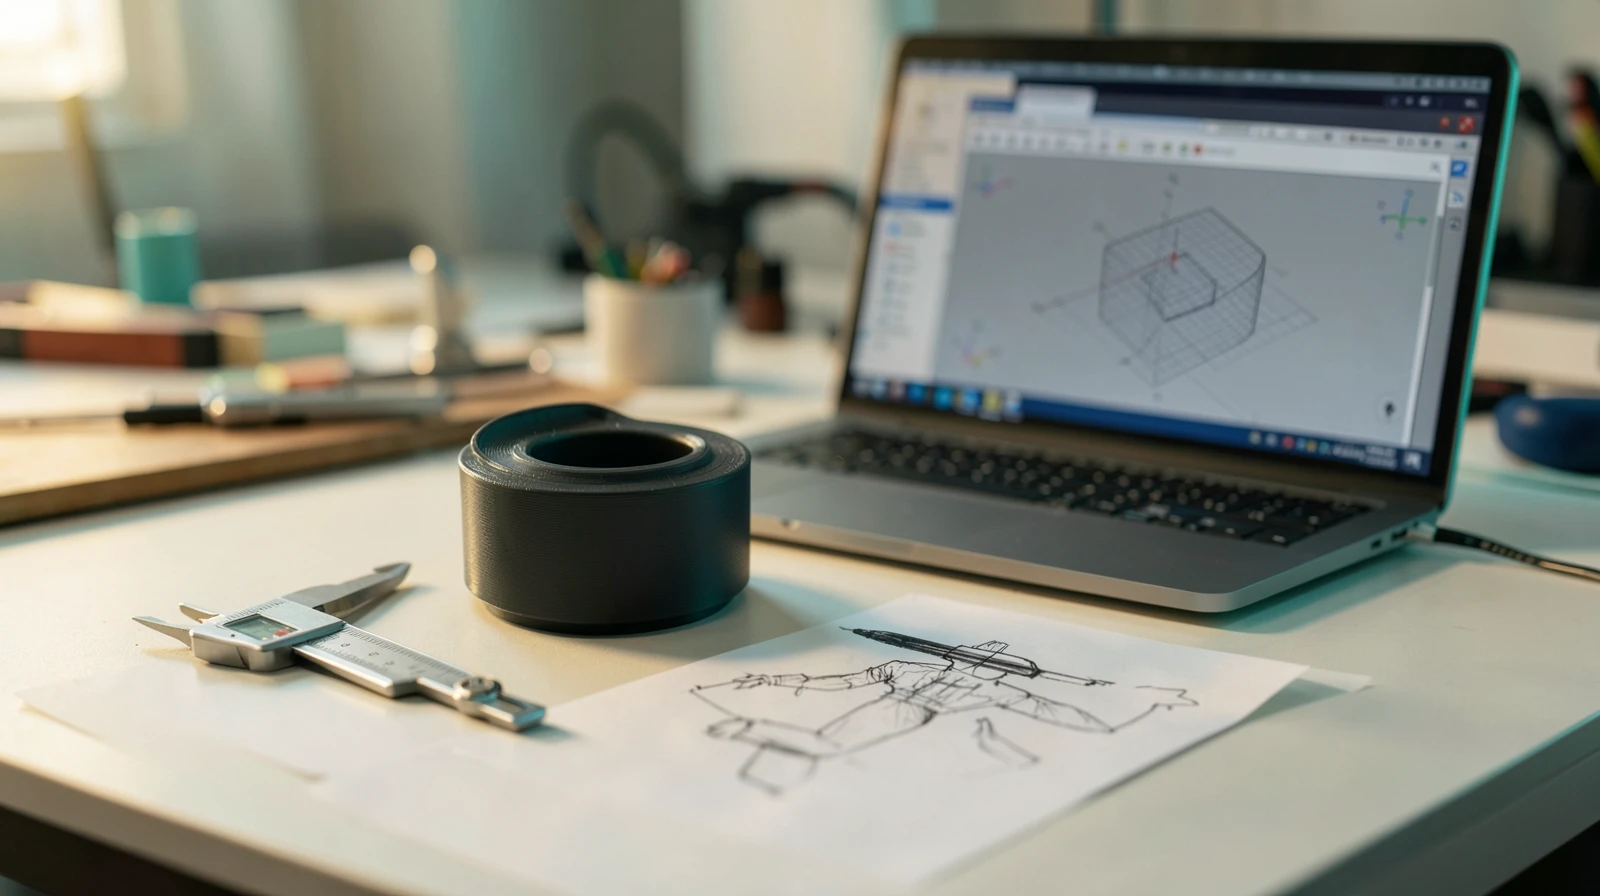
Before any software opens, define what the product must do. To turn an idea into a prototype you need three things written down: the critical dimensions, the function of every feature, and what the part connects to or fits inside. A napkin sketch with rough measurements is enough to begin — precision comes in the CAD stage. The clearer this brief, the fewer revision rounds you pay for later.
This is also the moment to note constraints that change every downstream decision: the manufacturing method, the material, and any mating hardware such as screws, bearings, or an existing enclosure. Learning how to make a prototype that fits the first time starts with capturing this context, not with modeling.
Stage 2 — Build the CAD Model in SolidWorks
A sketch cannot be printed or machined — it must become a precise 3D model. We build every prototype in SolidWorks because its parametric engine captures design intent: change one dimension and the whole model updates cleanly, which is exactly what you need when a prototype goes through several revisions. The output is a set of manufacturing-ready files — STEP for machining, STL for 3D printing, and SLDPRT for future edits. A dedicated SolidWorks modeling service turns your sketch into these files in hours, not weeks.
Stage 3 — Choose the Right Prototyping Method
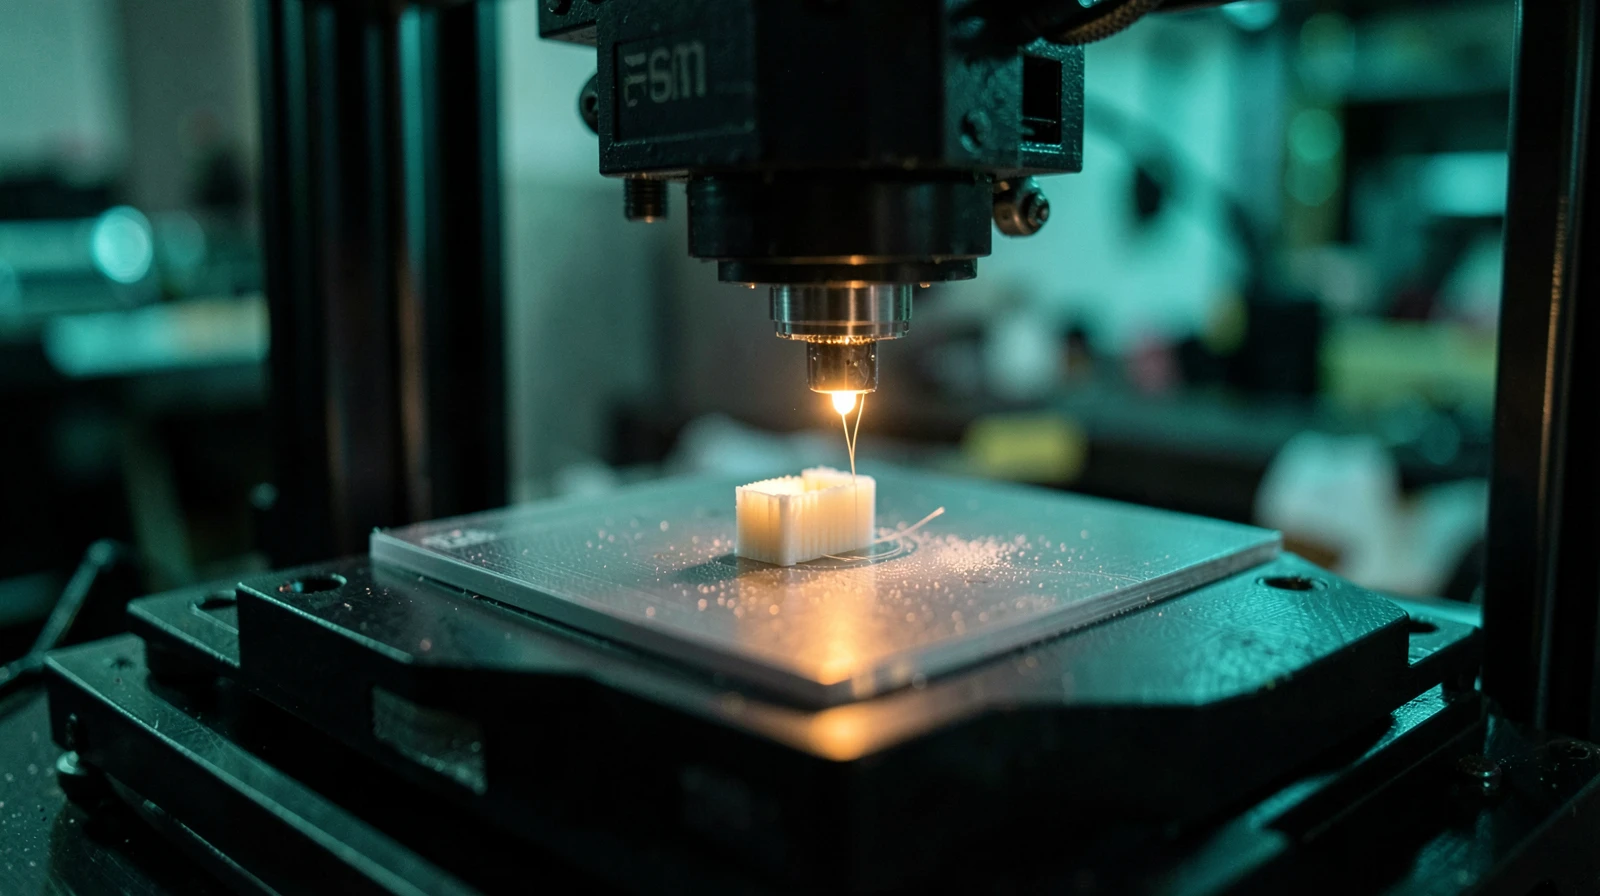
The prototype’s purpose decides the method. FDM 3D printing is the cheapest and fastest route for functional test parts. SLA resin printing delivers smooth, detailed surfaces for looks-like models and small features. SLS nylon produces durable, functional parts without support structures. CNC machining is the choice when you need production-grade material properties or tight tolerances. For most early prototypes, FDM validates the concept for a few dollars before you commit to anything more expensive — a sequence Protolabs’ design resources break down in detail by process.
Stage 4 — Test, Measure, and Iterate
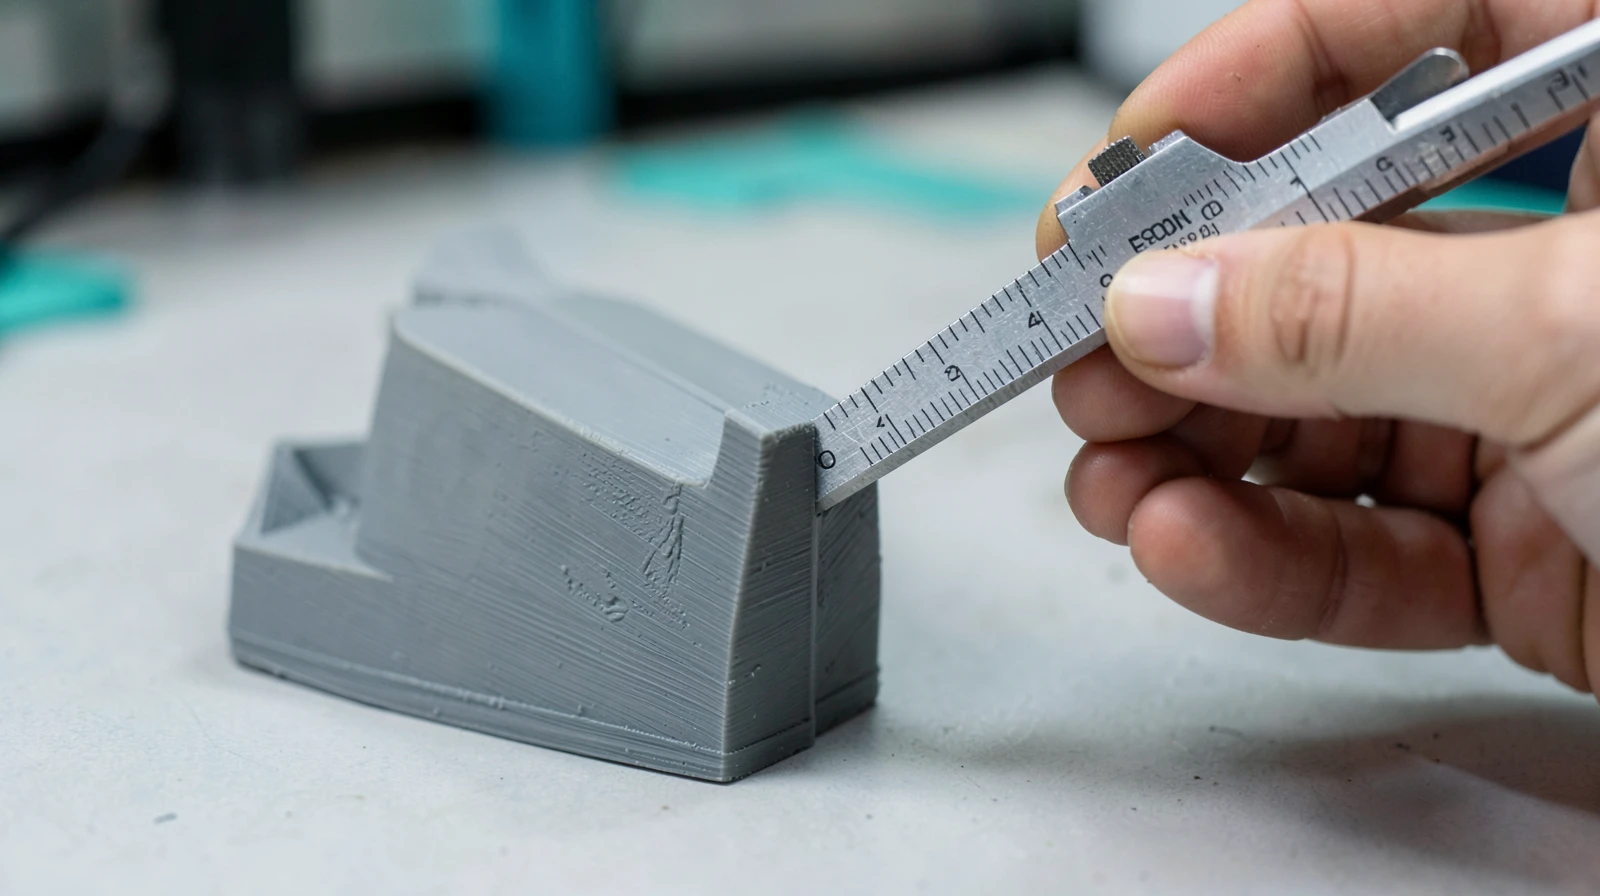
The prototype design process is a loop, not a straight line. Assemble the printed part with real hardware rather than trusting on-screen CAD checks. Measure critical dimensions with calipers against the spec. Apply the expected service load and watch for flex, cracking, or creep. Every prototype teaches you something the model could not — and each finding feeds a targeted revision. Two or three tight loops usually reach a design that is ready to manufacture with confidence.
Common Prototyping Mistakes to Avoid
Four mistakes account for most wasted prototype budgets. First, over-engineering version one — chasing a perfect finish before the basic geometry is proven. Second, ignoring tolerances, so mating parts bind or rattle. Third, choosing the wrong material for the test at hand, such as brittle PLA for a part that must flex. Fourth, skipping design-for-manufacturing, which produces a prototype that works but can never be mass-produced affordably. A good engineer flags all four before you spend on the next round.
What Prototyping Costs and How Fast You Can Move
Knowing how to prototype a product on a realistic budget matters as much as the engineering. Professional CAD for a single prototype part starts at $34, more complex geometry runs $69, and full multi-part assemblies land around $174 — a fraction of the cost of a failed production run. With a focused workflow, a print-ready model can be delivered in 24 hours, so you can hold a physical test part within days of the first sketch. Explore real examples in our project portfolio or start a build through our prototype design service.
Ready to turn your idea into a tested prototype? With 7,000+ projects delivered across 40+ countries and a 4.9-star rating from 4,470+ reviews, our studio builds production-ready CAD and print files with 24-hour turnaround on most single-part designs. Start your order or reach us at contact@minicad.io for a free quote.